Your Products Deserve the Spotlight — Photography Tips That Sell
My best tips for improving your Catholic product photography
As many of you know, I run a marketplace of artisan Catholic products, where vendors apply to be listed. Since it’s a curated directory, I only accept products I believe will do well with customers. My goal has always been to give vendors the best chance at success, not just to accept as many as possible. One of the most common reasons I can’t accept someone right away isn’t the product itself — it’s the photography. Great photos make all the difference in helping beautiful products shine.
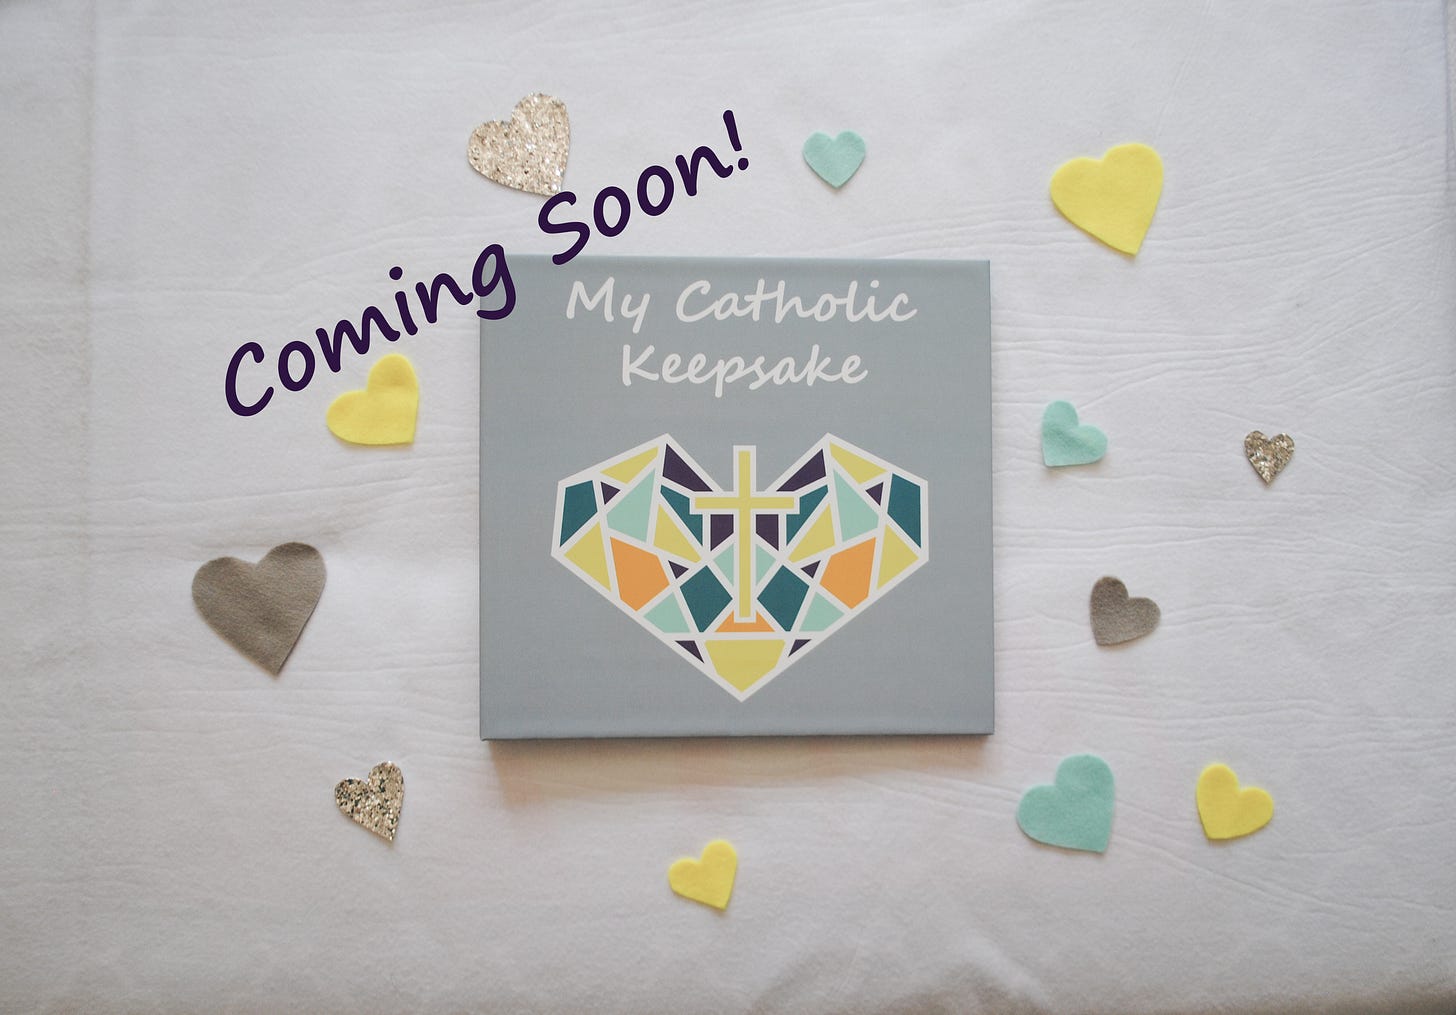
Because you could have the coolest, most beautiful product in the world, but if the photo doesn’t show it off well, customers won’t get to see how amazing it really is. And before I sound like I have it all together, let me humble myself by showing a graphic I made when I first launched My Catholic Keepsake back in 2019:
You can actually see the wrinkled cloth marks from the tablecloth I used as a backdrop. 😂 Not to mention, the photo is super dark and just looks sad. And I wondered why sales weren’t rolling in…
I was WAY overcomplicating it, trying to get all cutesy with those felt hearts I’m pretty sure I spent hours cutting out.
I say this, because we all start somewhere. And if I can get better at photography, so can you!
What should I have been doing from day 1?
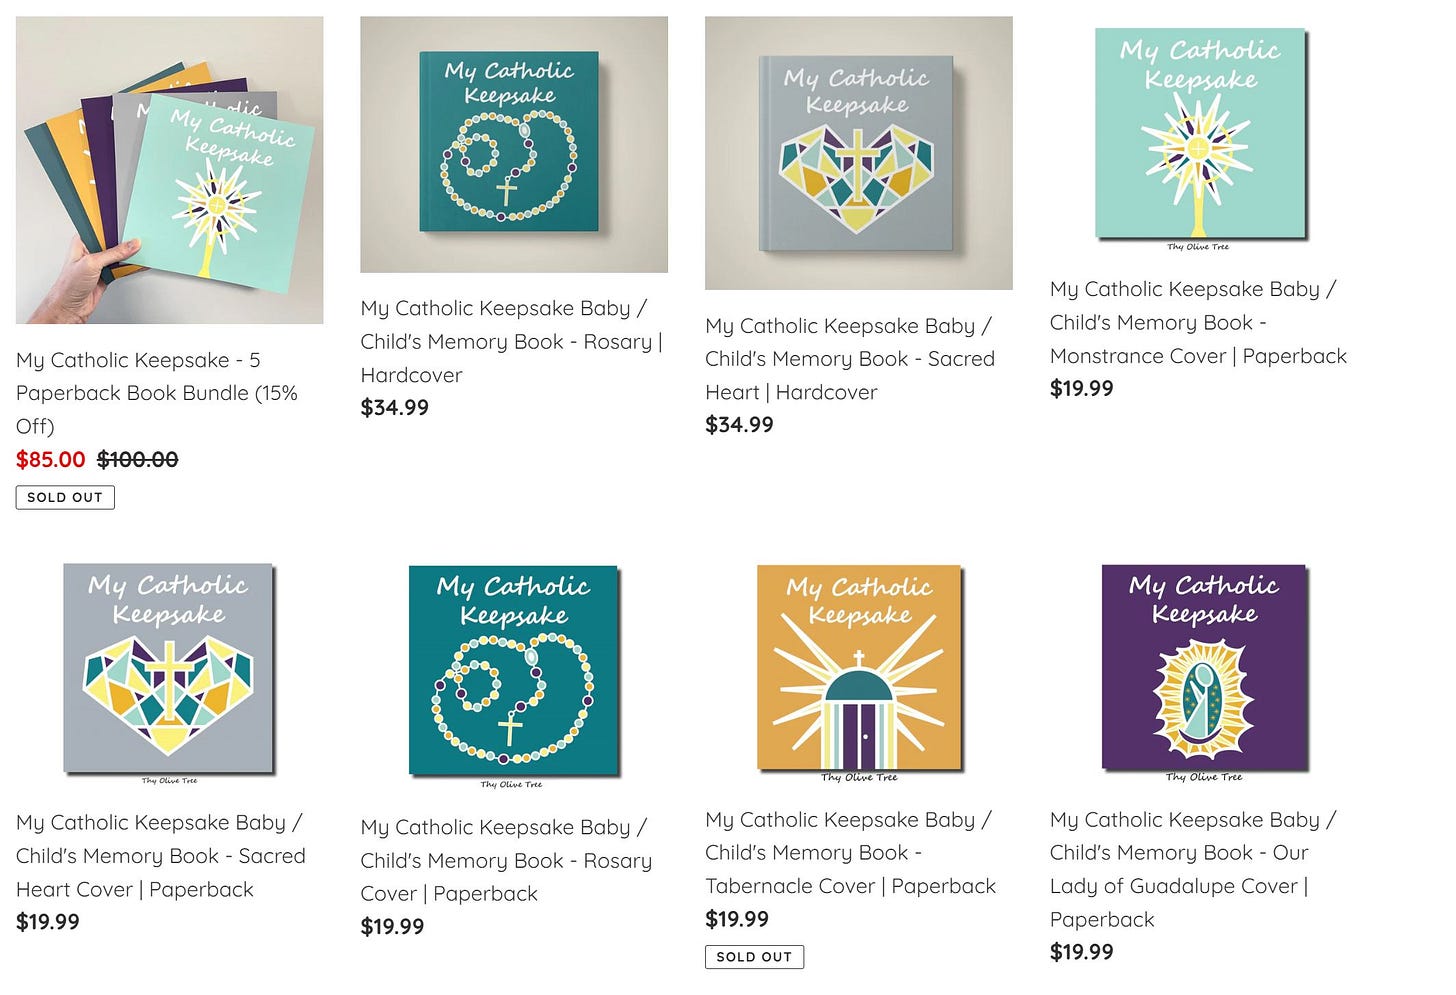
Keeping it simple! What I have now on my sales page is way more effective than an over-stylized and under-lit photo.
See how bright, simple, and professional the above looks compared to the wrinkled mess above it? (Spoiler alert: only 1 of the above is an actual photograph. It’s the one with my hand holding the books. All the others were digitally rendered. More on that below).
So let’s dive in! Here are my best tips for getting quality photos for your products:
Teach Yourself How to Take Beautiful Photos
Through lots of practice and trial and error, I have found a few things that work well for getting product photography that I like.
Practice! I know it seems obvious, but you will only get better if you keep working at it.
Research. Look at successful shops you admire to find clues. Study their product images. What do you like about them? What makes it successful? How are the products staged, if at all? Which of these techniques could work well on your products? We can gain much inspiration this way.
Nowadays, it is quite possible to take amazing photos on just a smartphone. I use my iPhone and have taken some great photos this way.
Find a place with good lighting. Natural light works best, but I can tell you from living in Michigan, this isn’t always possible. Experiment with different areas in your home, and you’ll start to see which photos turn out best.
If you are having trouble finding good lighting, experiment with the camera settings on your phone. At least on the iPhone, there is an exposure setting where I can set the exposure to +1 or +2 and take a photo that is automatically brighter.
Consider purchasing photo filters or using the ones that come on your phone. Photo filters will add a cohesive element to all your photos (brightening them or pulling out certain hues). Just make sure the photo still closely resembles your product.
Edit your photos. The apps that come on your phone or computer usually work just fine for this. If a photo is too dark, I try to brighten it up by playing around with the exposure, light, and contrast settings. After some experimenting, you’ll start to see ways you can improve your photos.
Consider buying a photo lightbox. A lightbox can take some time to figure out how to use, but it can help you get brighter photos of your products, especially if you want them on solid-colored backgrounds, or desire closeups of your product near other objects. This is the one I purchased (this is an Amazon affiliate link meaning I may get a commission on your purchases).
For books: I have found taking pictures of stacks of my books often creates a more impactful photo on social media. There is something about seeing 50 colorful books stacked on top of one another that really catches the eye.
Skip Photography and Do it Digitally
There are other routes you can take, many of which work even better than trying to take and edit photos yourself.
Generate mockups. Mockups are beautiful photographs that leave space for you to place your product right into the scene, on the blank product. For example, you could buy a mockup of a blank canvas on a wall and then place your artwork on it. Now it looks like you took a picture of your artwork on a wall. This works best for products that are more general or come in standard sizes, like tote bags, t-shirts, wall art, books, throw pillows, etc. It doesn’t work as well for oddly shaped items, non-standard dimensions, or highly custom items. You can find mockups on sites like:
Etsy: Just search for mockup + your product type
Canva: The best part is that Canva also lets you edit your photos right on their platform. This is great for generating social media graphics and incorporating text into your photos.
For books specifically: Book Brush allows you to create promotional graphics in addition to 3-D models of your book. I’ve never used it, but it looks promising.
There are plenty of other sites that sell mockups. A brief search online will bring up many of them.
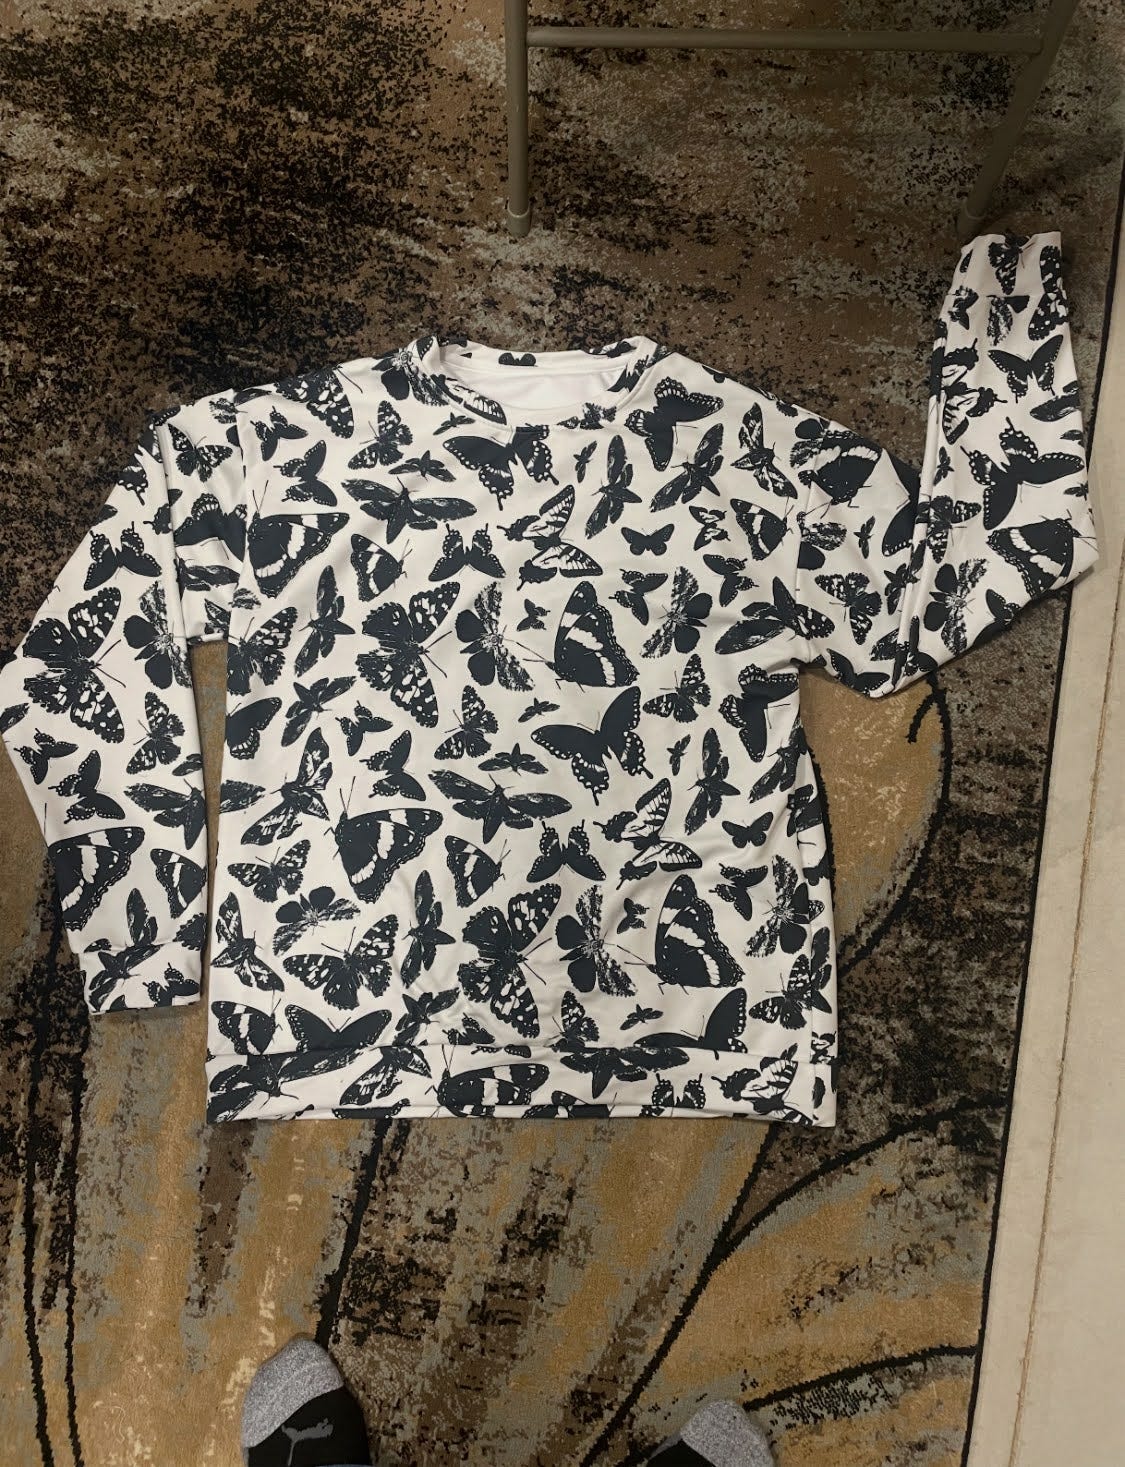
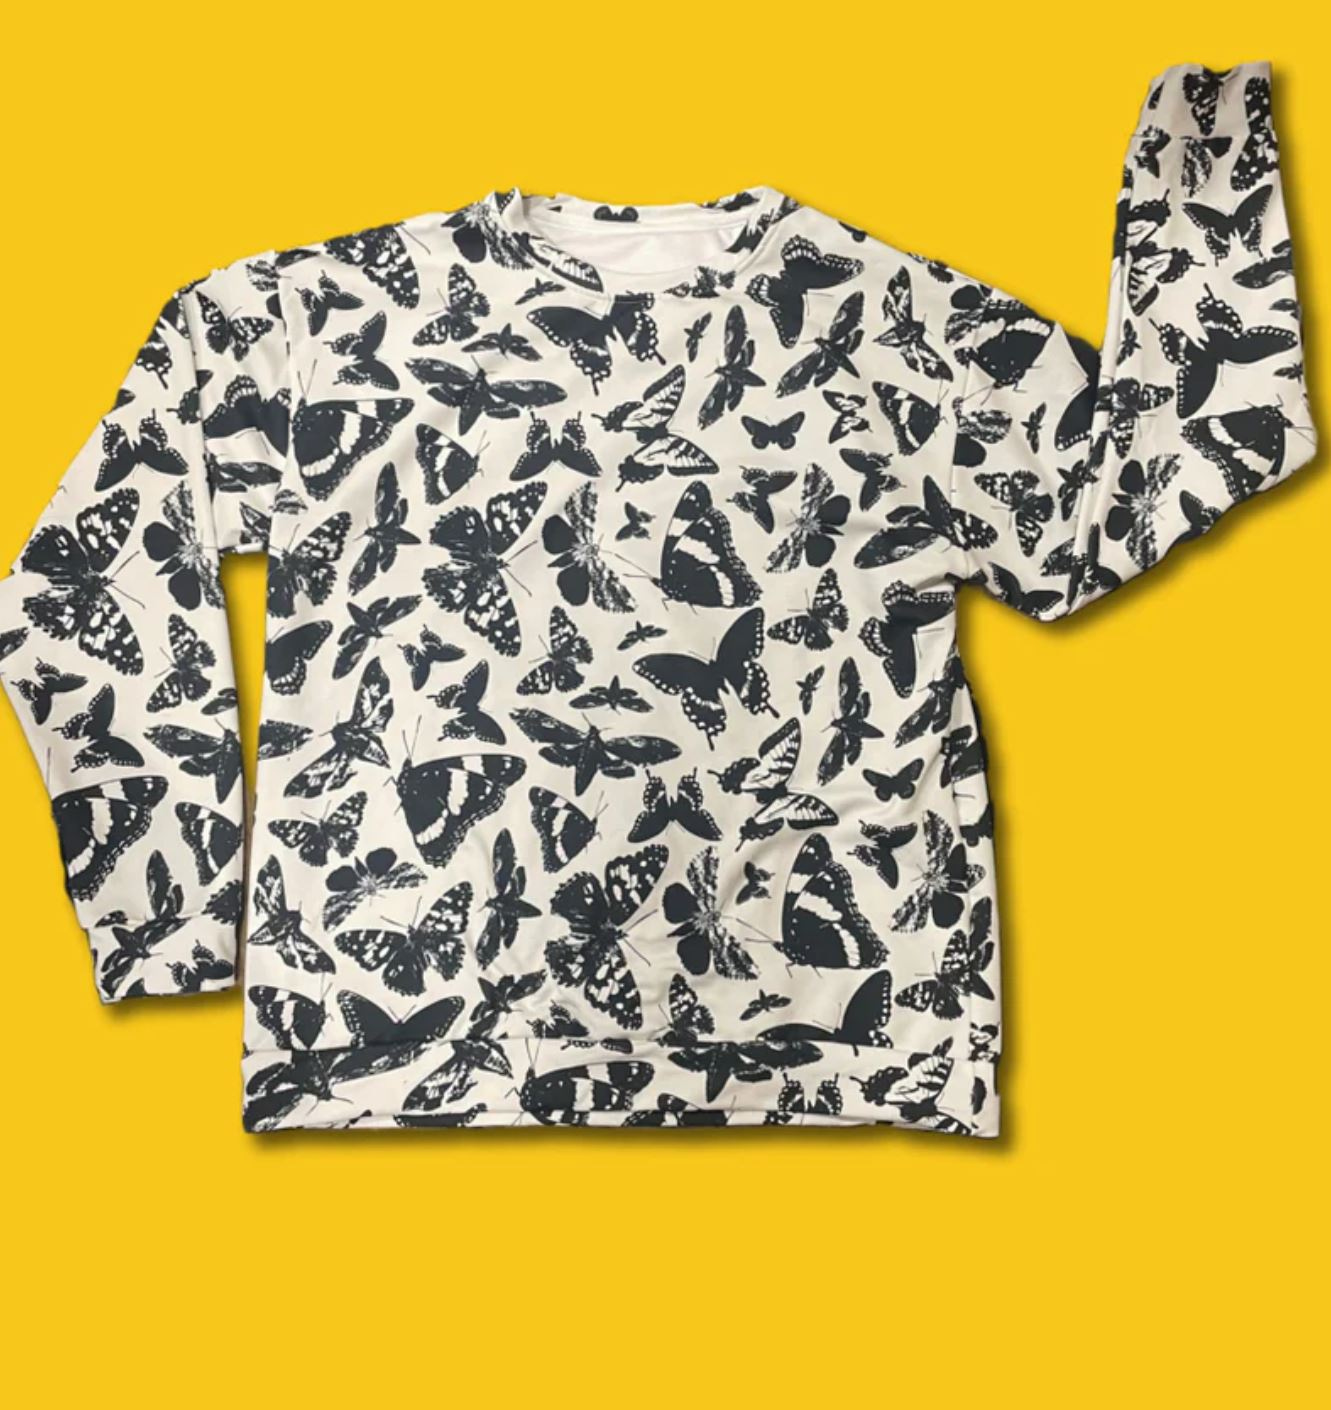
Remove + add your own background. I’ve done this for clothing and it works well. Let’s say you want a nice lay flat image of a sweatshirt but you can’t find a mockup that matches your product. Instead, take a photo of your sweater on any solid backdrop. Upload it into a program like Canva or Adobe Express. Remove the background. Brighten the image, if needed. Then add a solid colored background. Voila! It instantly looks way better. Here’s my before and after:
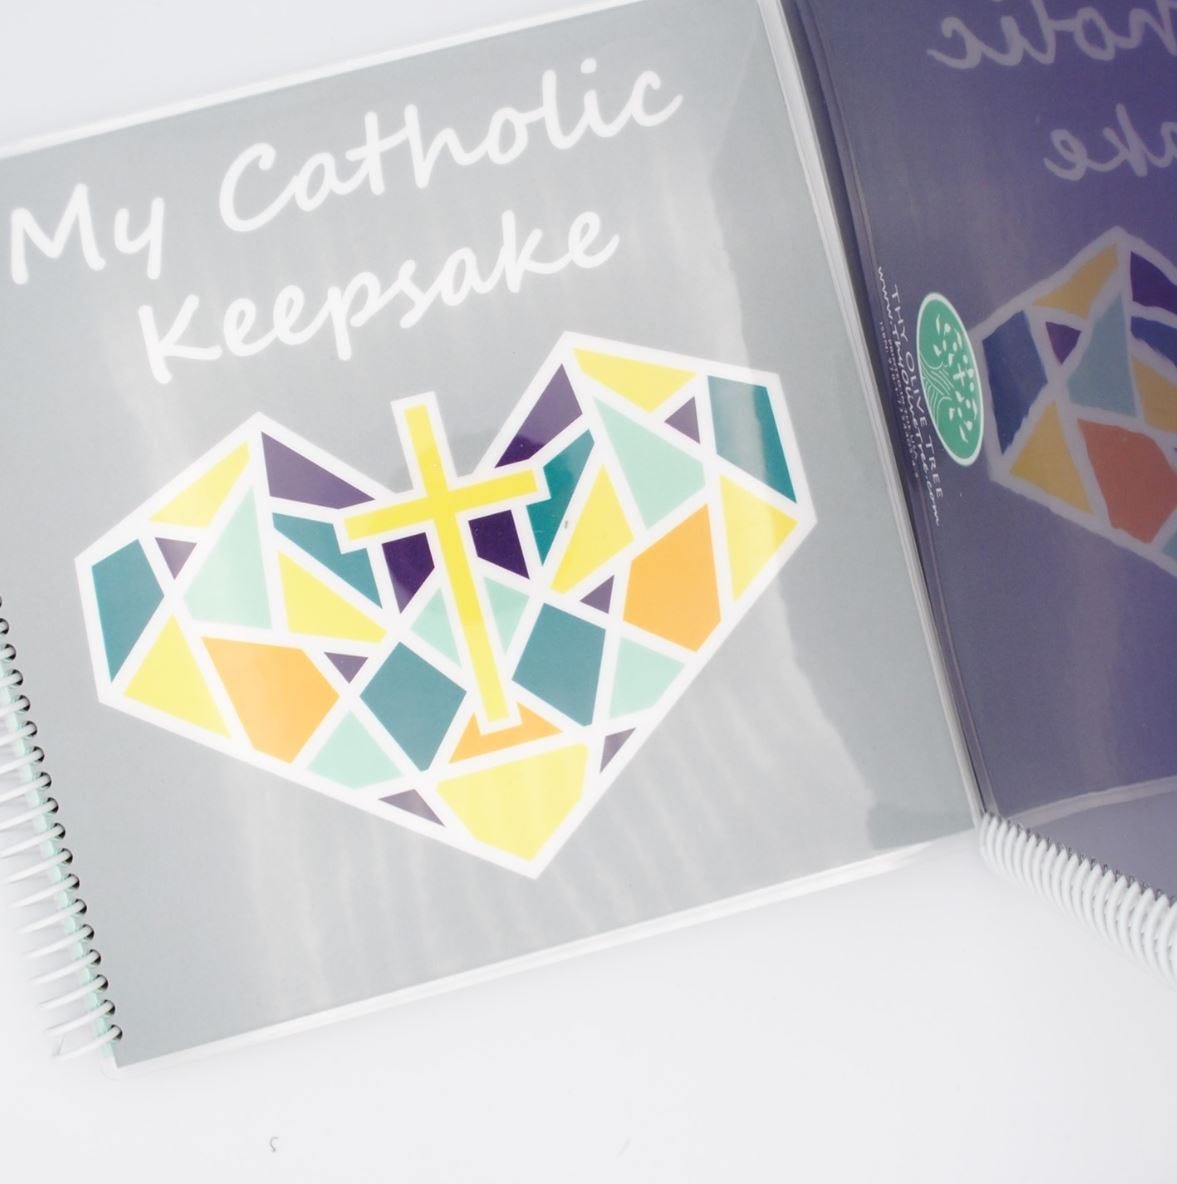
Book trick: You can take your book’s jpg or png and digitally paste it on a white background. You could even do this in Word. Then save the document as an image. Now, it will look like your book is on a white background. If you are more experienced with design, you could add a shadow backdrop to the book photo which will give the edges some weight and make it look more like a 3-D book:
Hire a Photographer
If you are reading this and are a bit overwhelmed, rest assured. There are people out there who can help you! I know you might be thinking it’s too expensive. But hiring a photographer is totally worth it if you can’t hack it yourself. Some products are easier to photograph than others, come with available mockups, like discussed above, or can be digitally created using various graphic design tools. Others don’t have that flexibility.
If you are thinking of hiring a photographer, I know someone who offers very affordable rates (even new businesses and startups can afford), with experience photographing Catholic products, and her photography is beautiful! If you are interested, send me an email at kate@thyolivetree.com and I’m happy to make an introduction.
Hope this was helpful! Can’t wait to see all your incredible product photos :)
Paid Subscribers
Leave a link in the comments section to a product image you’d like some feedback on. Let’s help one another by giving feedback: 1 good thing + 1 suggestion for improvement.




Thanks for sharing! 🙏